Retro Emulators in Steam Library Setup Guide
 

Papercraft Difficulty:
Category :

If you remember my earlier post about retro gaming with Hyperspin, I’ve decided to ditch the fancy launcher. Instead, I’m going for a more straightforward setup by using basic emulators and combining them all in the STEAM app.

After completing the article, I discovered that EmuDeck is now available on Windows. Additionally, I’ve encountered a significant issue with Steam Rom Manager while using RetroArch. Therefore, I’m updating this guide to use EmuDeck instead.

If you prefer not to use EmuDeck, you can still refer to the original article provided below.


This method is easier than using a front-end launcher, and it lets you show off to your Steam friends. It’s also neater to use Steam as a retro game launcher, and you can utilize Big Picture mode to stream it to your TV or other devices.

In addition to using Steam as your retro launcher, EmuDeck now allows you to use Pegasus and EmulationStation as launchers as well.

Requirements

The requirements for this setup include EmuDeck, ROMs, and ample hard drive space.

Optional

Most people think they need an SSD to load retro games faster. While that’s true for newer 3D games, my research shows that an HDD performs just as well as an SSD for loading retro games. So, don’t waste your money on an SSD. Instead, invest in a 2TB or larger HDD. Why? Once you dive into retro gaming, you’ll want more space for your growing collection, and the need for storage will be endless.

How to Set it Up

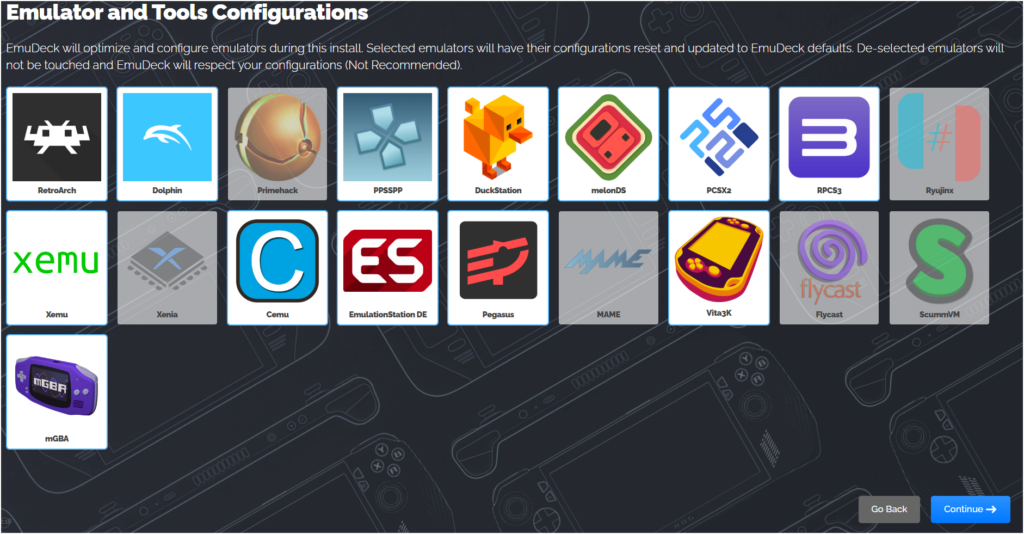
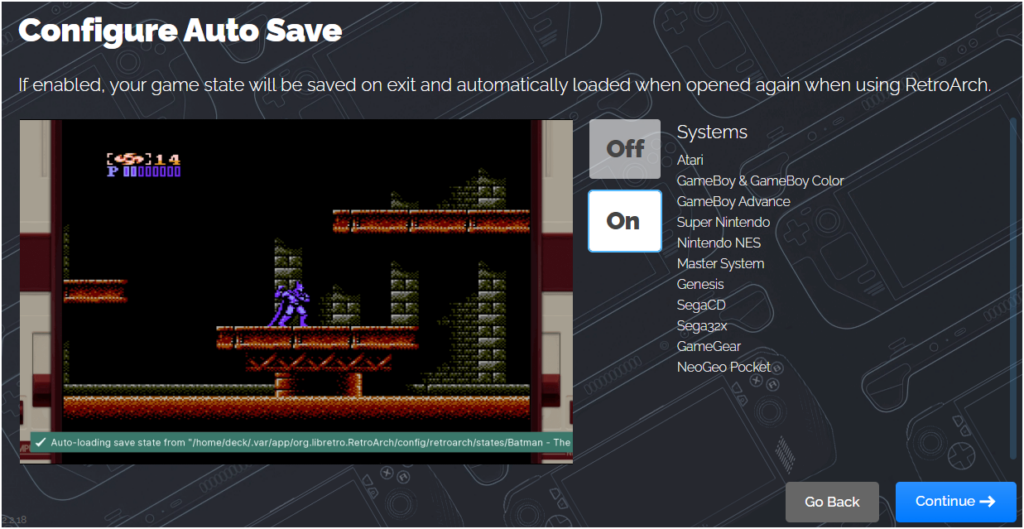
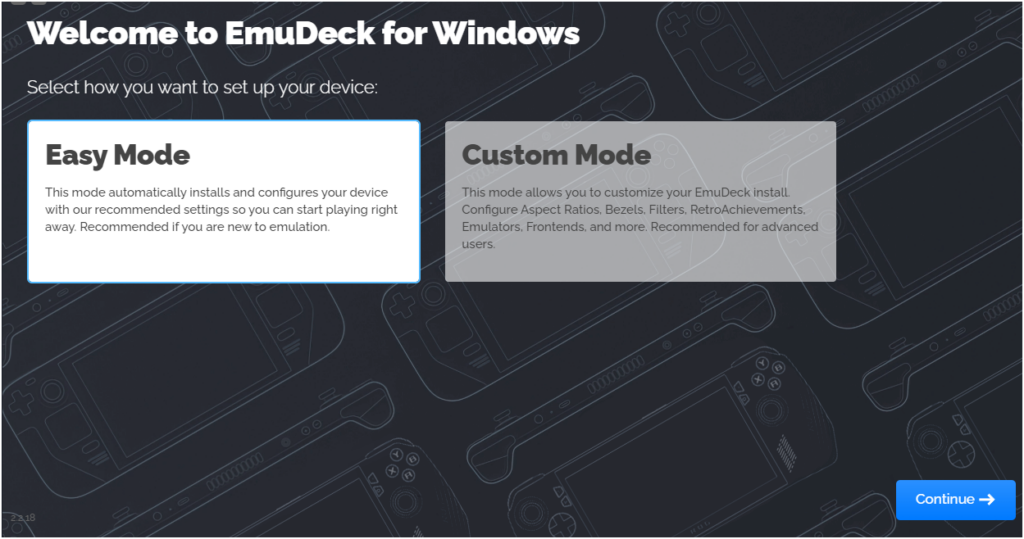
With EmuDeck, the setup process is straightforward—just click “Next” a few times, and you’re done.
Screenshot 2024 06 16 123410 - Retro Emulators in Steam Library Setup Guide

If you want to select all available emulators, choose “Easy Mode.” If you’d like more control over the setup, choose “Custom.”

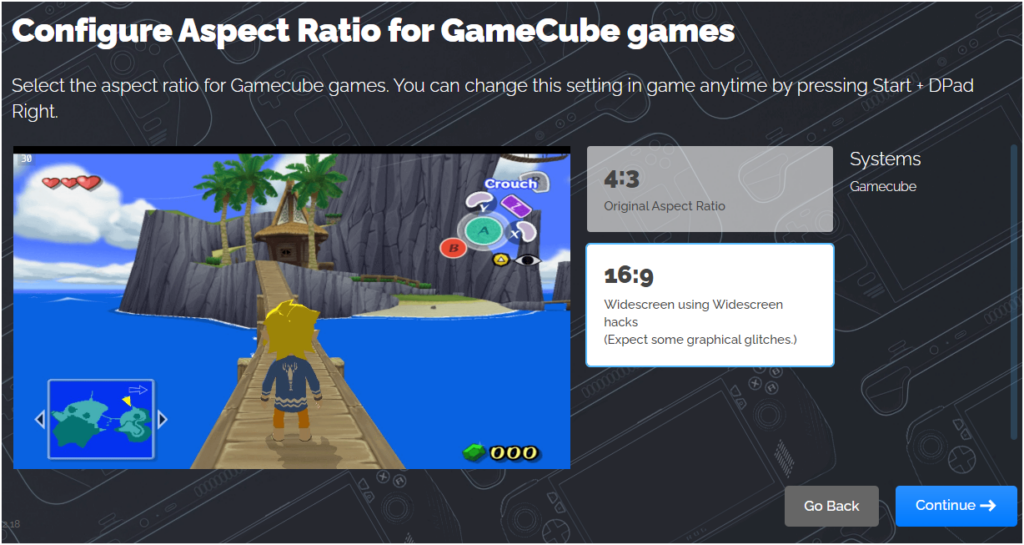
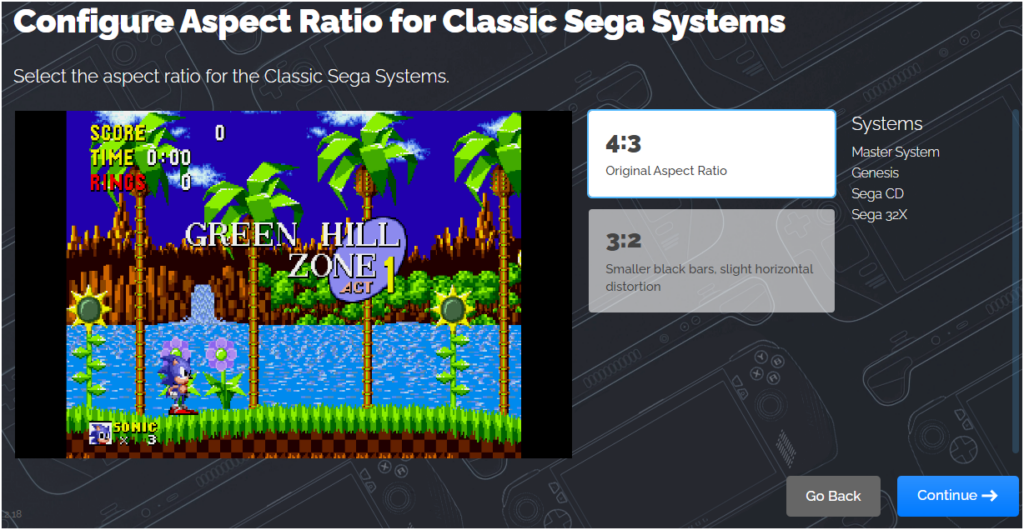
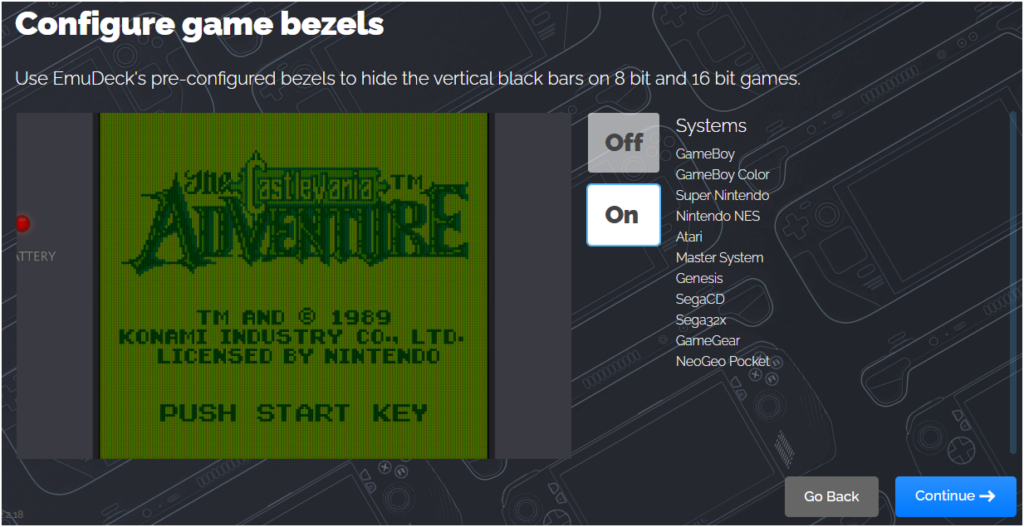
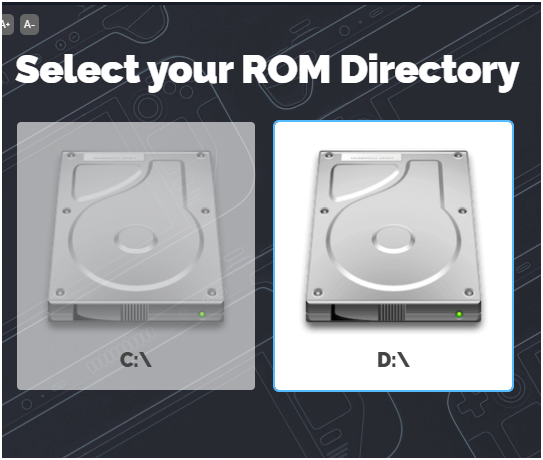
You’ll need to select your hard drive, emulators, and ROMs folder, but simply following the on-screen instructions and pictures will guide you through it.
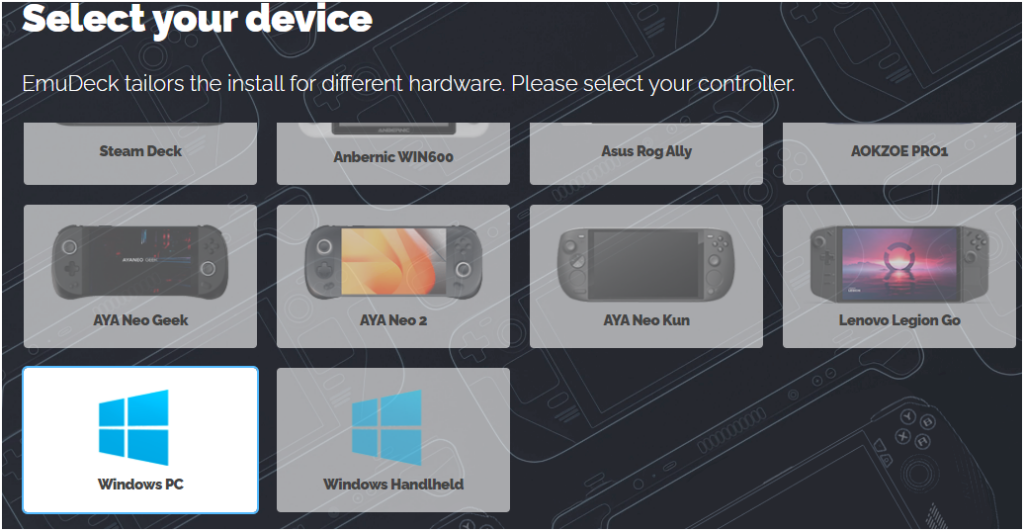
Screenshot 2024 06 16 123444 - Retro Emulators in Steam Library Setup Guide
Screenshot 2024 06 16 123455 - Retro Emulators in Steam Library Setup Guide
Screenshot 2024 06 16 123541 - Retro Emulators in Steam Library Setup Guide

The next choice is just your preference in gaming.
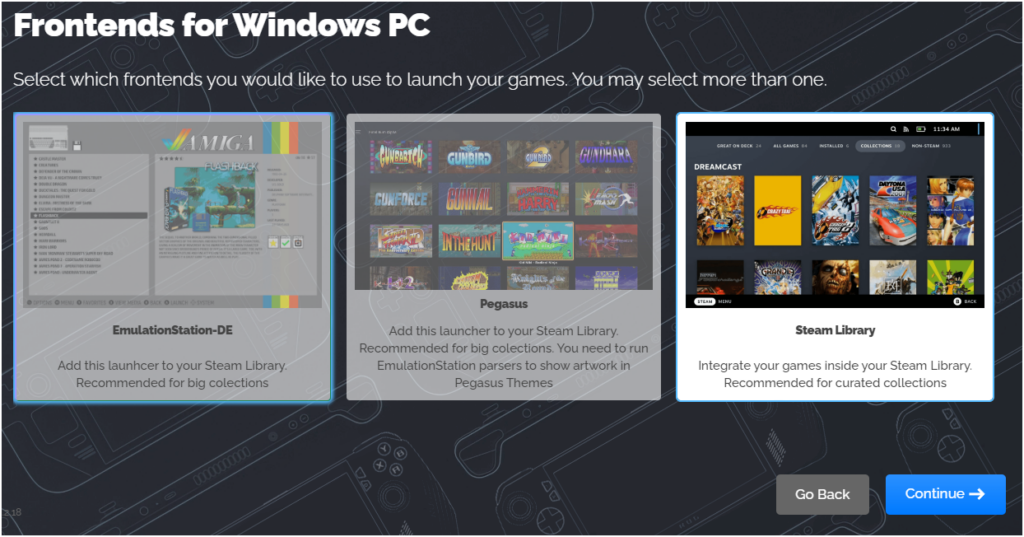
EmuDeck will then open Steam Rom Manager, provided you selected it in the previous options. Here, you can pick the emulators you have and then click “Add Games.” Once the games are loaded and all files are retrieved, click “Save to Steam.”
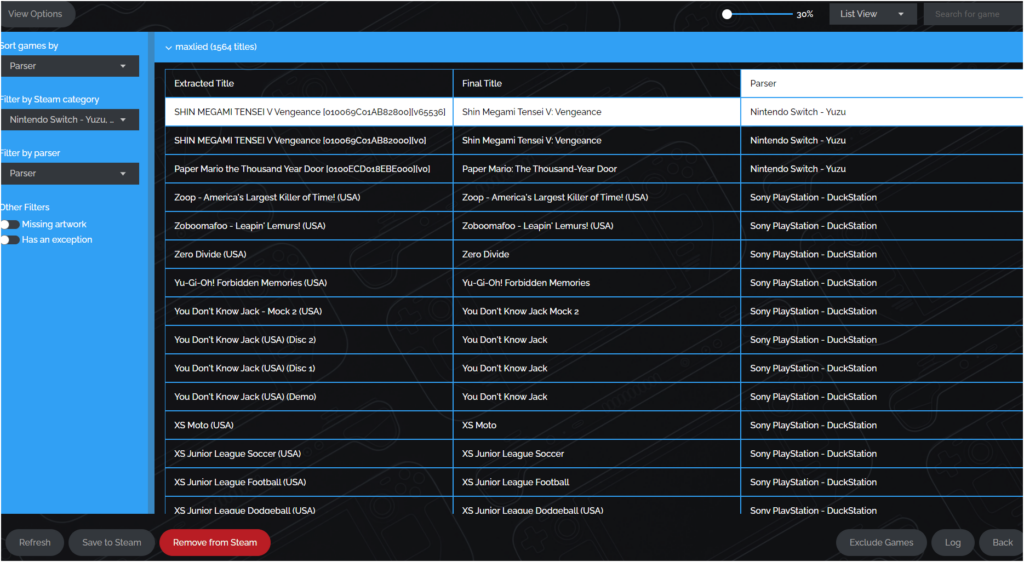
Screenshot 2024 06 18 135238 - Retro Emulators in Steam Library Setup Guide

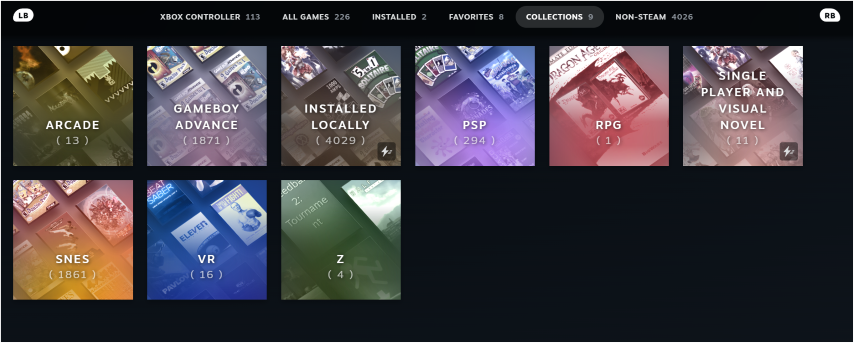
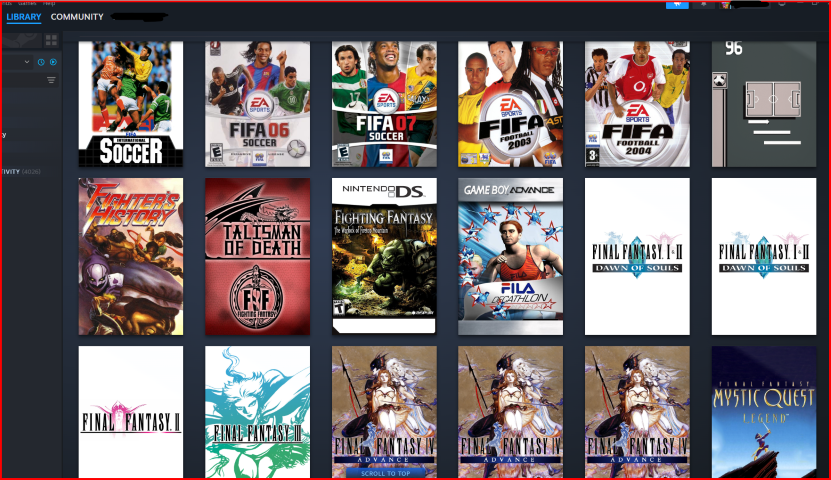
And you’re done! You can now open Steam, go to your collection, and start playing.


OLD GUIDE

Now, I’m using RetroArch for GBA, SNES, NES, GameCube, Wii, PS1, and PS2 games, and PPSSPP for PSP games. I use Steam ROM Manager to make everything show up in the Steam library like any other games. This setup also makes it easy to add other emulators in the future if needed.

Requirements

To get this setup working, you’ll need your preferred emulators, Steam ROM Manager, a Steam account, and, of course, the ROMs.

How to Set it Up

RetroArch

For RetroArch, check out this video. It’s super simple and easy enough for anyone to understand.

PPSSPP

For PPSSPP, all you need to do is install the app, open it, and navigate to your PSP ROMs.

STEAM ROM MANAGER

Once you have loaded all your ROMs into the emulator, it’s time to set up Steam ROM Manager. Ensure that your Steam app is closed before you begin this setup.

  1. First, choose your community preset. If you have GBA ROMs, search for GBA and select any of the available GBA presets. It doesn’t really matter which one you pick.
  2. Set the path to your Steam folder in Steam ROM Manager. After that, open your Steam/userdata folder and copy the name of the first folder you see inside Steam/userdata.
  3. For example, if the first folder is numbered 58987777, write it as ${58987777} in the user account box in Steam ROM Manager.
  4. Do note that the first folder is the first id you used to logon STEAM
  5. The next two boxes are fairly straightforward. Simply browse to the folder containing your GBA ROMs and select it. Then, for the executable application folder of your emulator, choose retroarch.exe in this case.
  6. Save the settings now and repeat these steps for your other ROMs and emulators.

After that, go to “Add Games” and click “Parse.” If you set it up correctly, the images for your games will appear. Once they all show up (though some may not), click “Save to Steam.”

If you open your Steam now, your library will display a folder for your emulator. When you click on that folder, it will show all your game ROMs.

You may now play your retro game using any controller supported by Steam app.